One of the most anticipated features in iPhone devices is its camera. As a matter of fact, most buyers would look into the camera specs before picking the best phone brand to procure. That’s the reason if something goes wrong and the camera program suddenly fails to work as it should, then you will surely not like it. The quality that this smartphone produces is so good that sometimes it becomes a replacement for digital cameras. Whether a user wants to take a picture or a video, the iPhone camera is your best alternative if a user does not have a digital camera.
However, exactly like any other smartphone, the iPhone’s camera fails sometimes. Though not likely to happen, there are still a few cases from several users that experienced camera defaults like iPhone camera not focusing. There has never been any confirmed firmware or hardware-related problems with the new iPhone that affects its camera so the issue could be minor.
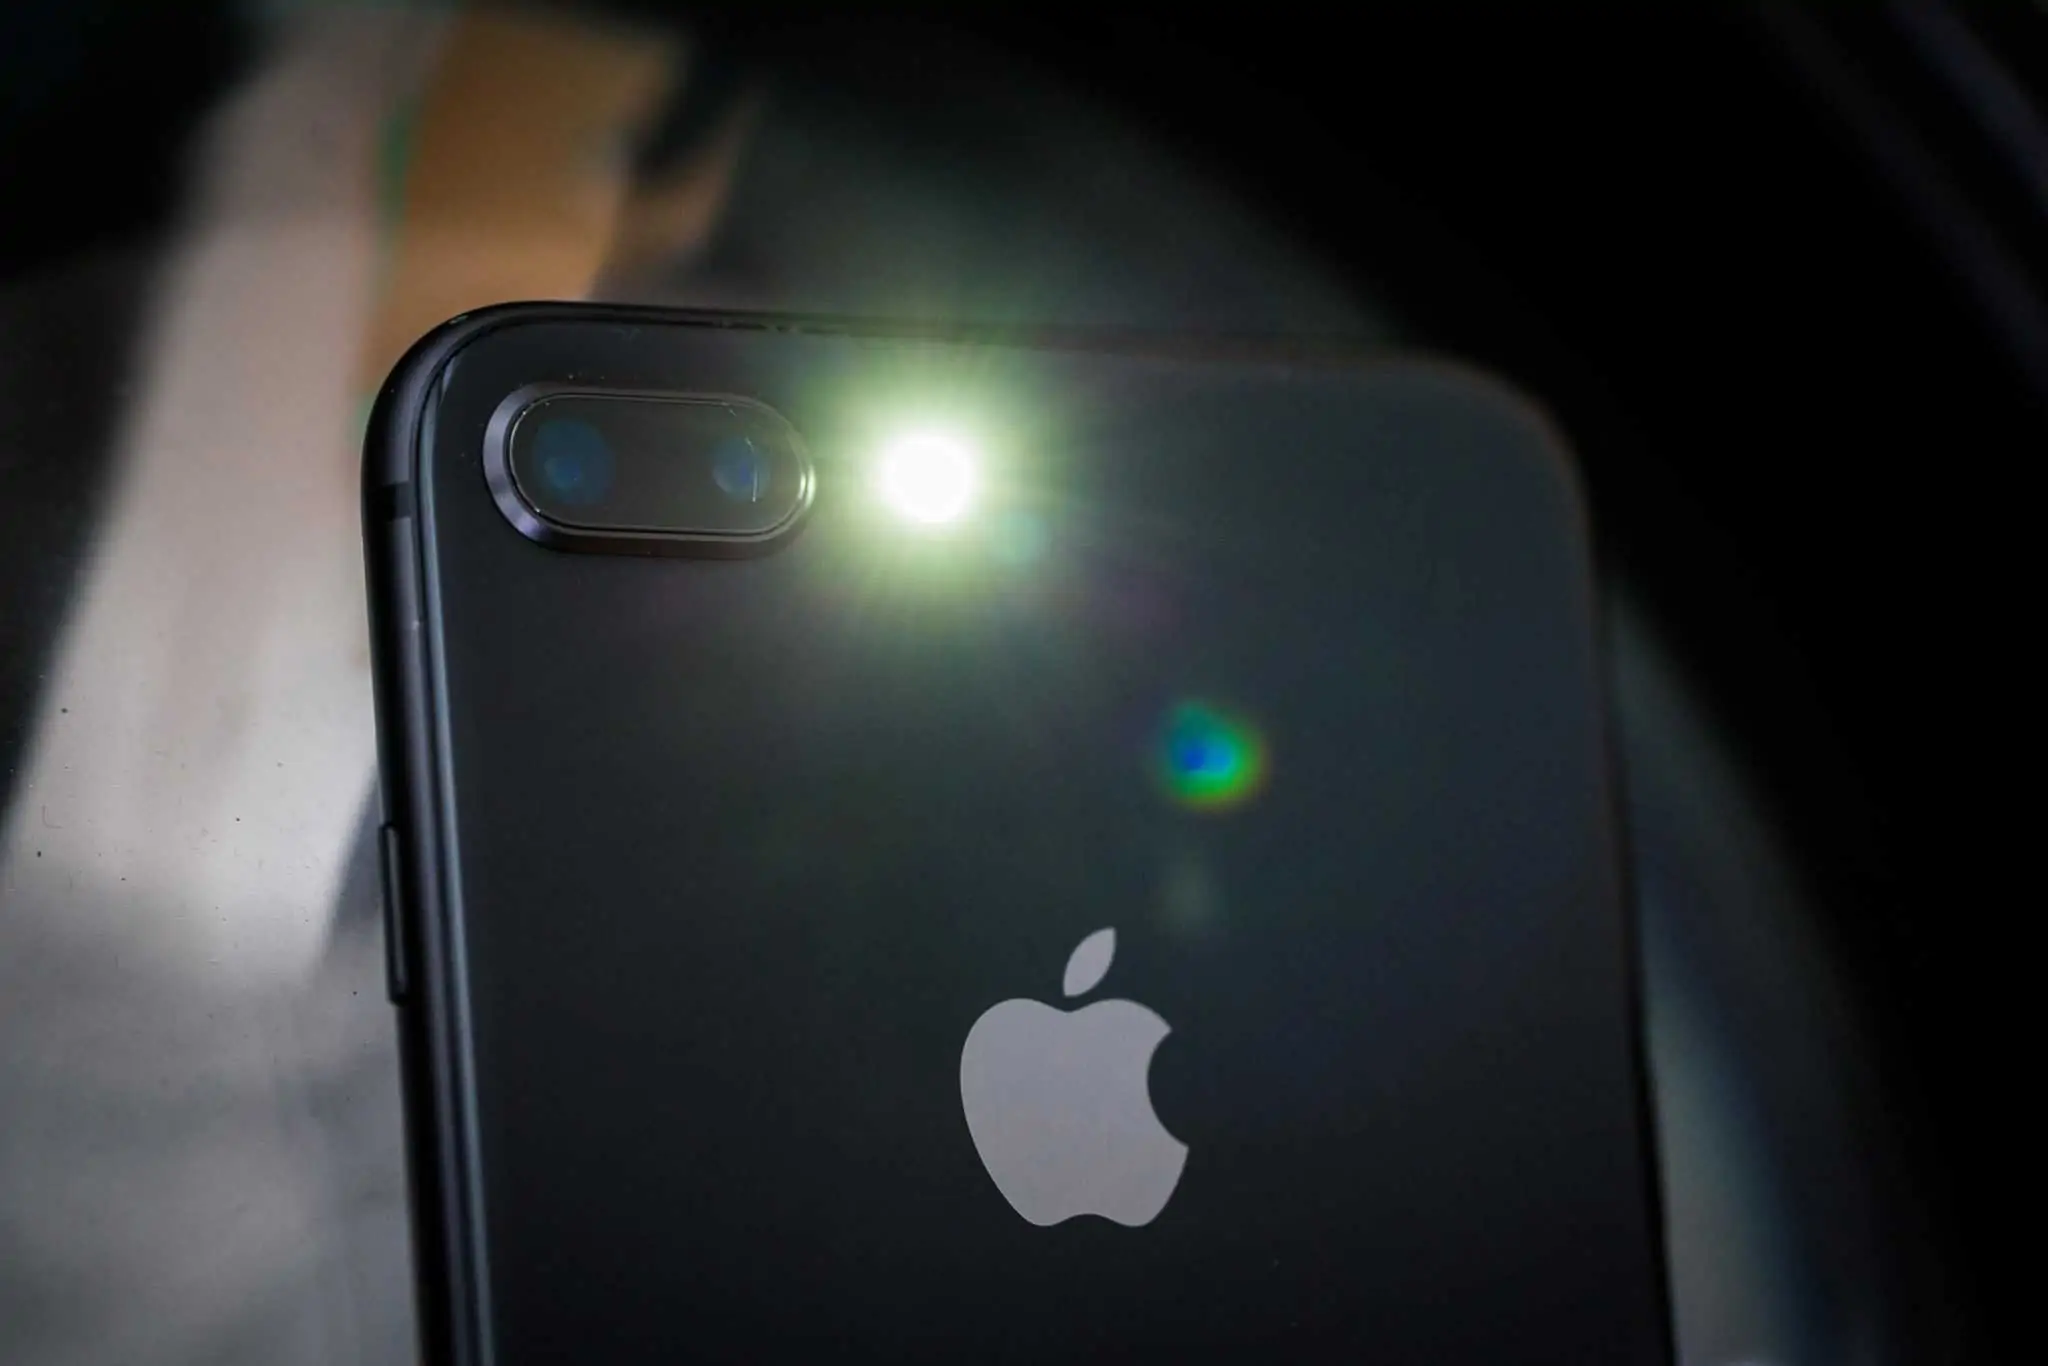
Why is Your iPhone Camera Not Focusing?
What might be the possible reason and how should you fix this sort of problem? Dealing with this sort of problem is quite straightforward. On the other hand, you will need to determine and understand first what triggered your iPhone to fail this time even though it was fully working only moments ago.
The camera lens is at a loose position
This probably happens a lot once the unit is stuck with something. By way of instance, it dropped from your hands and dropped feet below, or you accidentally hit it on the ground when you’ve slipped in the bathroom, or anything else.
When a smartphone is struck by something so hard, while it’s an iPhone or an Android apparatus, it is likely that the very first hardware to get changed is your camera. So, be certain you prevent your phone from getting dropped or hit something.
The next reason is the following software updates. Many iPhone users who encountered this problem are using the earlier versions like iPhone 6 Plus, iPhone 5, iPhone 4, and some other version. The most plausible reason for this problem to occur on these models is the latest update doesn’t entirely fit with these versions.
Most upgrades today are mostly for the most recent versions of each gadget. Therefore, if you have a bit earlier version of an iPhone, it’s fairly normal that you have this sort of problem.

So you need to make sure:
- Make sure the lenses are clean and clear.
- Remove any cases you may have installed.
- Restart the camera app.
- Force restart your iPhone XR, SE or any you have.
- Restore your iPhone.
Also read: iPhone Repair Hacks
Other Relevant Camera App Symptoms
- Camera app stopped working or keeps crashing
- Flash not working, won’t turn on or no flash at all
- Front and back cameras are completely black
- Photos are blurry, poor quality
- Photos are out of focus
- Camera app missing on the Home screen
- Camera app freezing or unresponsive
iPhone Camera Not Focusing – Problem Fix
Perform a soft reset or reboot your iPhone.
A reboot is highly recommended after making any changes to your iPhone system. The same concept is applied when you add or install a new program or modify some settings on certain programs or applications on any mobile phones, regardless of the operating system they’re running on.
Oftentimes, a soft reset would be necessary for the new changes or system modifications to take effect and properly work on your iPhone. Considering the fact that iOS updates bring significant changes to your iPhone system, a reboot might as well be able to rectify everything.
- To reboot your iPhone, press and hold the Sleep/Wake or Power button until the red slider shows up.
- Scroll and select the option to power off your iPhone.
- After a few seconds, press and hold the Sleep/Wake button again until the Apple logo appears.
After the reboot, launch the camera app again and see if it’s already working properly. If not, then proceed to the next workaround available.
You may need to reboot your iPhone several times for the camera app to normal function again.
Also read: iPhone Won’t Turn On Or Charge?
Method 2: Clear camera app cache and data.
There are different ways to clear a specific app cache and junk files on an iPhone. You can clear an app cache and data manually or using a third-party app cache cleaner. Others would even take the risks of using an iOS jailbreak tweak to do the job, which I do not recommend. For ease and quicker way, you might want to try out any dedicated iOS file managers and apps designed to remove junk files. If you prefer to do it manually, you can head over to General-> Storage & iCloud Usage-> then tap Manage Storage under Storage heading. You will be prompted with a list of apps installed on your device sorted by how much local device storage they are taking up. Tap the app and select the option to delete cache or junk files.
Please note that options and settings may vary depending on the camera application you’re using. If you don’t see an option to clear cache from the camera app’s settings screen, then you can just force close the camera app otherwise, perform a force reboot on your iPhone instead. Either process can help eliminate system glitches that are causing malfunctions to the camera application.
To force close an app, follow these steps:
- Double-click the Home button to view all recently used apps on screen. These apps are only in standby mode for easy navigation and multitasking purposes. But they are not open.
- Locate the camera app.
- Swipe right or left of the camera app.
- Swipe up on the app’s preview to quit the app.
To force reboot your iPhone, follow these steps:
- Press and hold the Sleep/Wake (Power) button and Home button simultaneously for at least 10 seconds.
- Release both keys when the Apple logo shows up.
After clearing the app’s cache and data, restart your iPhone, re-launch the camera application, and test to see if it’s already working fine.
Also read: Photo Editing App To Remove People From Photos
Restart Camera App
Here’s how you restart the camera:
- Open the app switcher by swiping up from the bottom-left corner of the screen and pausing slightly in the middle of the screen.
- Find the camera app by swiping right or left to find the app that you want to close.
- Swipe up on the app’s preview to close the app.
Method 3: Reset your iPhone Settings.

There are several cases that a device is acting up and it affects most of the device’ functions. In this case, restart your iPhone and check if the camera is finally back to its original state. Restarting a mobile phone fixes bug issues and glitches most of the time.
Just navigate to Settings-> General-> then select Reset All Settings. Apps settings and preferences will be erased in the process, which means you would need to re-enter them afterward.
Method 4: Restore your iPhone to Factory Defaults.
This must be considered as your last resort. Restoring your iPhone to factory settings will erase all existing data and settings configuration, resulting in a handset that is good as new. Having that said, don’t forget to back up your iPhone contents to iTunes or iCloud before you begin. This way you can easily restore these files when needed.
After creating a backup, head over to Settings-> General-> and select Erase All Content and Settings.
I hope that this article will help you one way or another.