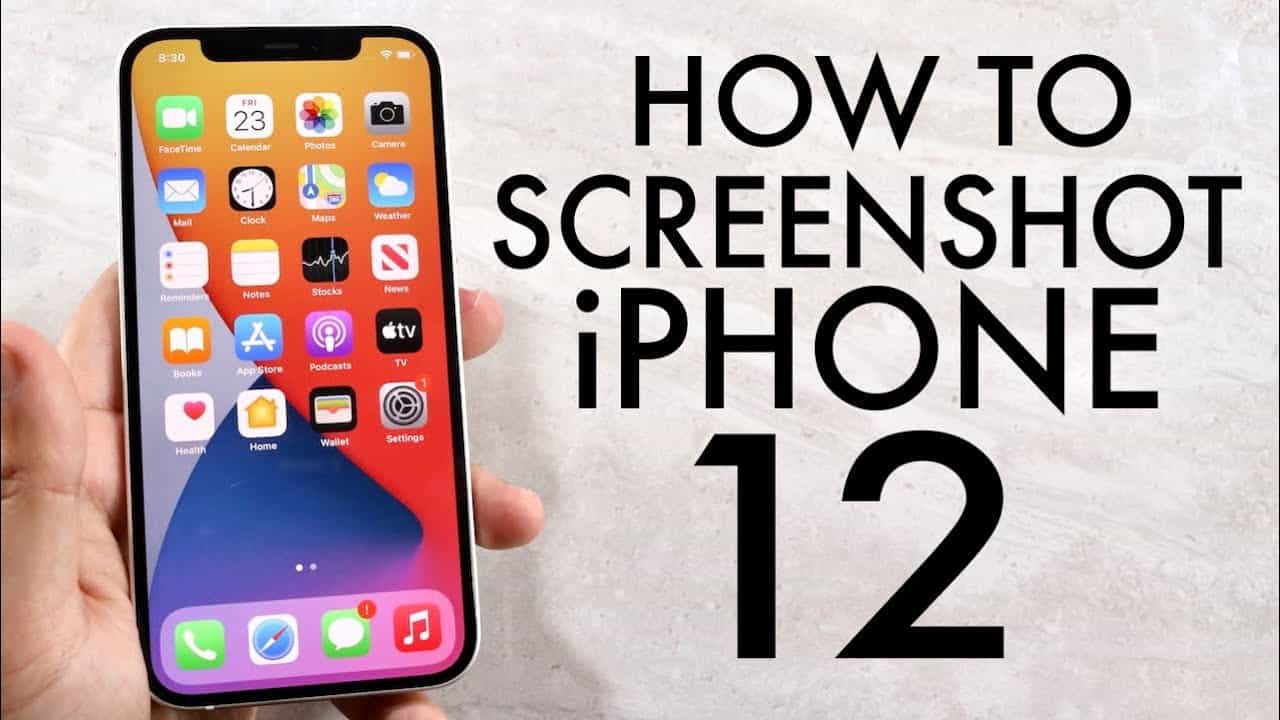
Are you trying to take a screenshot of your latest Apple iPhone 12? There is a lack of home buttons in this latest model iPhone which means taking screenshots is completely different from the early models. When you have iPhone 12 and are in need of taking a screenshot, it is a very easy process and Apple has made the process fairly sensitive and it will only take a minute to learn.
How to do a screenshot on iPhone 12?
The following are the most important steps to be considered when you are in need of taking the screenshot on your iPhone 12.
- First of all, you should need to press the volume up and the side operation which is the screen lock button at a similar time. The user must needs to also see the animation for the screenshot taken.
- When you look at the bottom left corner on your iphone, you will see the preview of the screenshot. You can tap it if you want to make any edit or tap & hold to quickly share it to any other person or app.
- Once you have decided to alter or markup your screenshot, you can follow the upcoming steps. Then, tap done button in the top right corner to save the edited copy on your iphone.
These are the steps to take iphone screenshot using face id. The iphone 12 users can also have some more steps and options to take screenshots with touch id.
- You have to press the home button and side button at the same time.
- After a few seconds, you have to immediately release both buttons.
- Now, you take the screenshot and the thumbnail temporarily appears on your iphone. You can see it in the lower left corner of the screen. You can tap this thumbnail to open it. If you don’t want to open and have an idea to edit later, you can swipe it off in the left.
There is also a chance to take the screenshot in iphone 12 with top button and touch id.
- The iphone users have to press the home button and top button at the similar time and immediately release both after a few seconds.
- Now, you can have a screenshot with thumbnail. You can open it for editing option or just swipe off.
IPhone 12 users can also have another option to take screenshot with assistive touch. Assistive touch is nothing but the neat tool which gives you an access of some of your highly used menus in any version of iOS. You can also take screenshot using it with the following steps.
- First of all, you have to enable the assistive touch option by taping to Settings -> Accessibility – > Touch – > Assistive Touch.
- Now, you have to tap on customize higher level menu. Then, you have to select the custom symbol and choose screenshot from the listing. This screenshot button can be added to your assistive touch option. You can also tap on any default icons in order to replace it with the screenshot button or any other important option from the list.
- There is a screenshot button to take any screenshot as you require.
Using screenshot markup on iPhone 12:
If you take a decision to markup or edit your iPhone screenshot, you can see it with the edit/ markup display along with the option to delete or save the screenshots. There are different numbers of tools available in this screen to easily learn even by the beginners. At the top portion, you can see redo and undo buttons and at the bottom of the iPhone screen, you can see the markup tools & styles, and a color selector. When you click on the + icon, you can see the options to add the signature, text, opacity, magnifier, and more. At the same time, you can also get the chance to toggle the screenshot between the full page and screen. If you are using Safari, this particular toggle feature allows you to immediately save the screenshot of the entire safari page. It is really very helpful for web development and other designing work. Once you have done any type of these edit work, you have to simply tap done button to save your screenshots on iphone.